|
I researched various ways to support the PV structure but decided
against the commercial racking offerings. Instead I applied fencepost
technology to produce a heavily fortified structure with adjustable
declination.
|
|
|
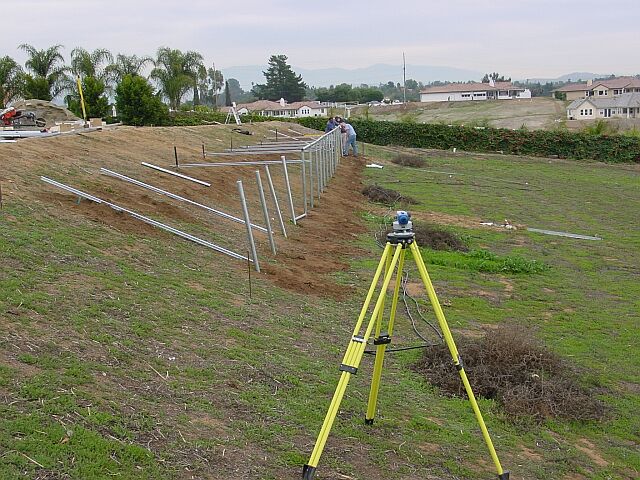
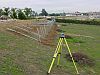
I developed the layout with DesignCAD and uploaded coordinates to my
laser theodolite. Then I used this
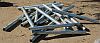
instrument to locate the holes and posts. The galvanized pipe was
purchased cut to length and threaded to my
specifications.
|
 |
|
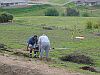
I recruited
help with the really tough job of boring holes in the hard decomposed
granite soil. Here is Dave, a local fencing contractor,
doing what he does best. Dave and his partner Bucky assembled most
of the pipe
structure while I stepped away to take a few pictures.
|
|
|
When the support row of pipe was erect, but before
the concrete was poured, my wife commented on how much it intruded on
our panoramic southerly view. I had to agree, so work stopped and
I spent several hours that night at the computer. I had the answer in
time to dismantle and start over the next morning.
|
 |
|
The structure, shortened by three feet from the original
design, was erected again. We used some of the steel struts to
brace every other post to an iron
stake as we proceeded.
|
 |
|
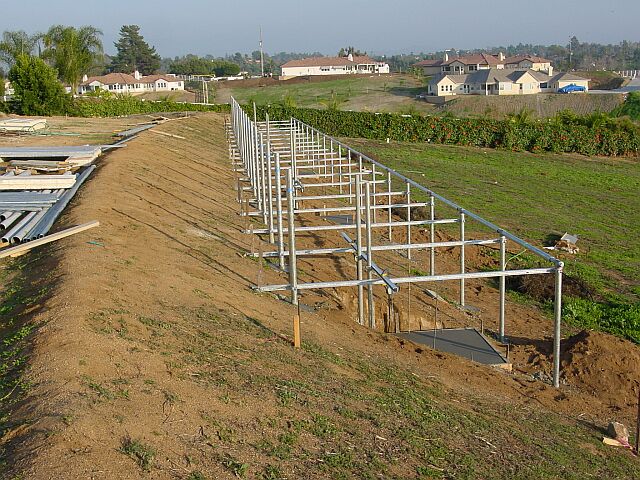
I then spent the next two days
with my instruments aligning and refining,
straightening and plumbing, and finally got the structure tweaked to
perfection and fully braced. In fact, the 100-ft long horizontal axle
pipe was so straight and level you could look in one end and see the
full opening at the other end. It was almost time to pour the
concrete.
|
|
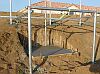 |
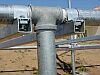
The
original design height provided space to mount the
inverters, whose bottom must be at least three feet above the ground. That space was lost in the height reduction exercise, so I dug
four cavities in the bank and formed slabs with posts for the inverter
mounts. The concrete was pumped to the holes and slabs and a few days later I built the retaining walls.
|
 |
|
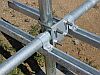
I spent two more weeks removing the temporary
bracing and completing the structure. The structural members are hot-dipped
galvanized steel, but all of the fasteners are 316 stainless steel. The stainless U-bolts had to be custom-made.
|
 |
|
At last, the structure was cast in stone. The anchor posts in the rear were left long and will
eventually support a decorative fence. Or maybe some type of
view-enhancing hedge or vine will be planted on the north side.
The next step was to place the inverters and install
the PV panels.

|
|